A Next.js Personal Website with a Native Authoring Experience
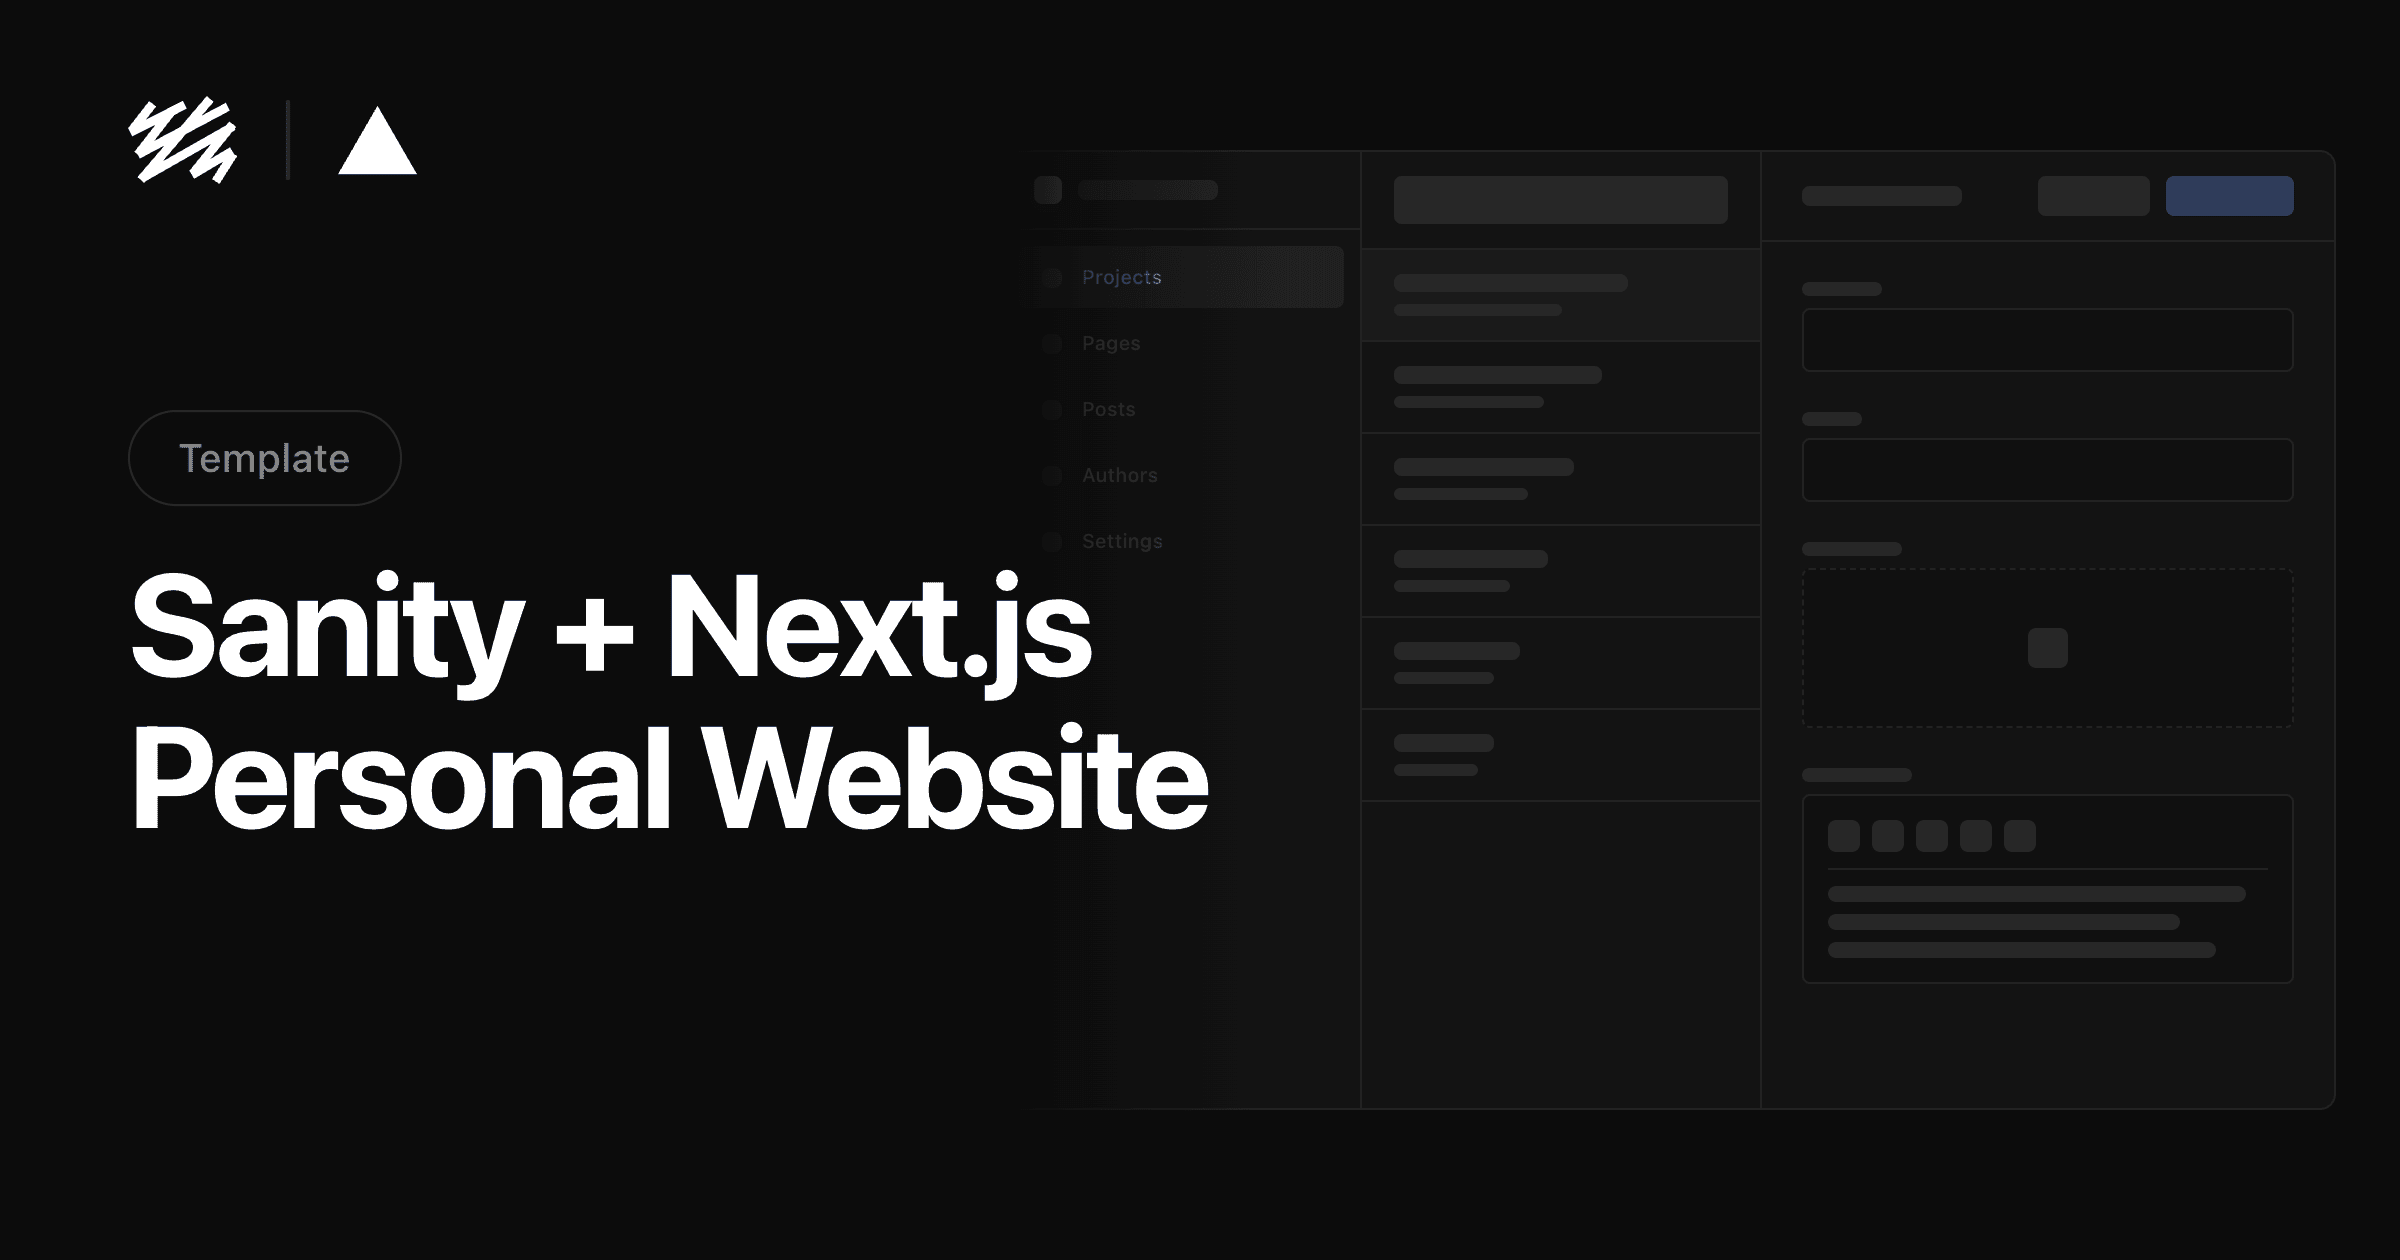
This starter is a statically generated personal website that uses Next.js for the frontend and Sanity to handle its content. It comes with a native Sanity Studio that offers features like real-time collaboration and visual editing with live updates using Presentation.
The Studio connects to Sanity Content Lake, which gives you hosted content APIs with a flexible query language, on-demand image transformations, powerful patching, and more. You can use this starter to kick-start a personal website or learn these technologies.
Features
- A performant, static personal website with editable projects
- A native and customizable authoring environment, accessible on
yourpersonalwebsite.com/studio - Real-time and collaborative content editing with fine-grained revision history
- Side-by-side instant content preview that works across your whole site
- Support for block content and the most advanced custom fields capability in the industry
- Sanity Live Revalidation; no need to wait for a rebuild to publish new content
- Free Sanity project with unlimited admin users, free content updates, and pay-as-you-go for API overages
- A project with starter-friendly and not too heavy-handed TypeScript and Tailwind.css
Table of Contents
- Features
- Table of Contents
- Project Overview
- Important files and folders
- Getting Started
- Step 1. Initialize template with Sanity CLI
- Step 2. Run app locally in development mode
- Step 3. Open the app and sign in to the Studio
- Adding content with Sanity
- Step 1. Publish your first document
- Step 2. Extending the Sanity schema
- Deploying your application and inviting editors
- Step 1. Deploy Next.js app to Vercel
- Step 2. Invite a collaborator
- Questions and Answers
- It doesn't work! Where can I get help?
- How can I remove the "Next steps" block from my personal site?
- Next steps
Project Overview
Important files and folders
| File(s) | Description |
|---|---|
sanity.config.ts | Config file for Sanity Studio |
sanity.cli.ts | Config file for Sanity CLI |
/app/studio/[[...tool]]/Studio.tsx | Where Sanity Studio is mounted |
/app/api/draft-mode/enable/route.ts | Serverless route for triggering Draft mode |
/sanity/schemas | Where Sanity Studio gets its content types from |
/sanity/plugins | Where the advanced Sanity Studio customization is setup |
/sanity/lib/api.ts,/sanity/lib/client.ts | Configuration for the Sanity Content Lake client |
Getting Started
Installing the template
We will take a look at installing this template with the Sanity CLI, running locally, and lastly deploying to Vercel. If you'd rather start by deploying to Vercel, please instead reference the instructions in vercel-installation-instructions.md
Run the command in your Terminal to initialize this template on your local computer.
See the documentation if you are having issues with the CLI.
npm create sanity@latest -- --template sanity-io/template-nextjs-personal-websiteNavigate to the template directory using cd <your app name>, and start the development servers by running the following command
npm run devOpen the Next.js app running locally in your browser on http://localhost:3000.
Open the Studio by navigating to the /studio route http://localhost:3000/studio. You should now see a screen prompting you to log in to the Studio. Use the same service (Google, GitHub, or email) that you used when you logged in to the CLI.
Adding content with Sanity
1. Publish your first documentThe template comes pre-defined with a schema containing Page and Project document types.
From the Studio, click "+ Create" and select the Project document type. Go ahead and create and publish the document.
Your content should now appear in your Next.js app (http://localhost:3000) as well as in the Studio on the "Presentation" Tab
2. Extending the Sanity schemaThe schema for the Post document type is defined in the studio/src/schemaTypes/post.ts file. You can add more document types to the schema to suit your needs.
Deploying your application and inviting editors
1. Deploy Next.js app to VercelYour app is still only running on your local computer. It's time to deploy and get it into the hands of other content editors.
You have the freedom to deploy your Next.js app to your hosting provider of choice. With Vercel and GitHub being a popular choice, we'll cover the basics of that approach.
- Create a GitHub repository from this project. Learn more.
- Create a new Vercel project and connect it to your Github repository.
- Configure your Environment Variables.
Now that you’ve deployed your Next.js application and Sanity Studio, you can optionally invite a collaborator to your Studio. Open up Manage, select your project and click "Invite project members"
They will be able to access the deployed Studio, where you can collaborate together on creating content.
Questions and Answers
It doesn't work! Where can I get help?
In case of any issues or questions, you can post:
How can I remove the "Next steps" block from my personal website?
You can remove it by deleting the IntroTemplate component in /app/(personal)/layout.tsx.